Whenever you buy your first house or start renovating, you want to make your home a welcoming and lovely space that reflects your personal style. There will be things you would need to spend most of your budget on, such as floors, walls, plumbing, heating, and the list goes on. This can be quite expensive and time-consuming, and you may end up postponing some of the finer details, such as changing your door.
With time, however, this becomes a priority since the appearance of your interior doors can greatly impact the whole interior design. But what can you do if there are too many doors you need to change? Instead of replacing your existing ones with brand-new doors, you can update their appearance by repainting them and buying some stylish door hardware. Luckily, there are many options of door hardware Australia wide that you will be spoiled for choice. So without further ado, let’s see how you can update the appearance of your old interior doors.
Repaint Your Doors

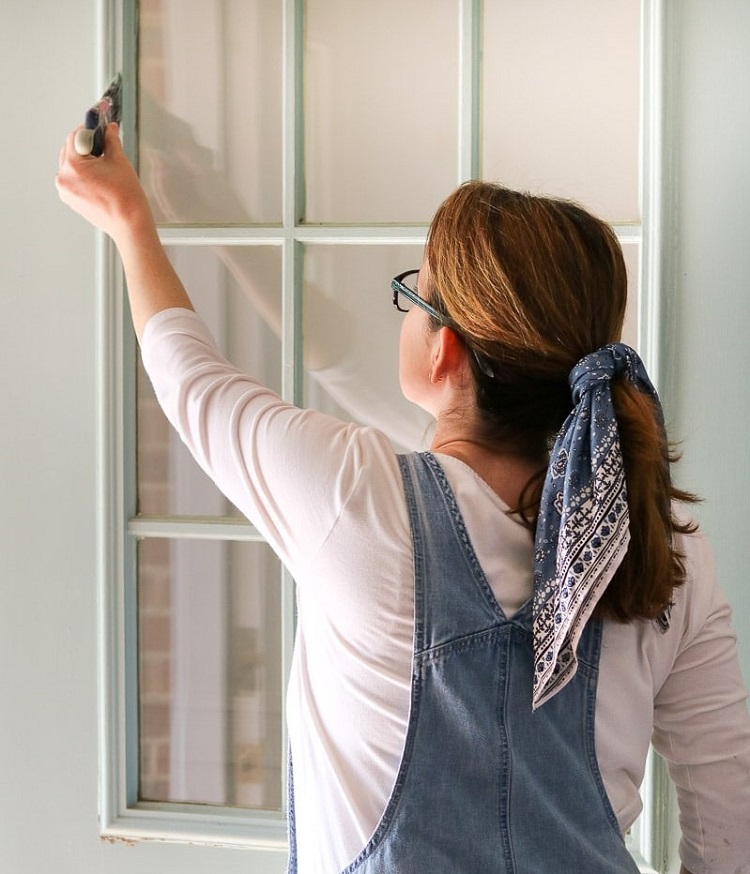
One of the easiest things you can do to transform your existing doors is to repaint them but only if they are in good condition. Instead of using boring and out-of-date colours, choose modern and fresh hues that will brighten and improve the appearance of your home. You can always hire a professional to do it for you, but if you have time and you want to save some money, you can do a little DIY project.
First, you need to start painting on a clean surface. Make sure to take the time and clean the doors of any dust, dirt, and grime since debris interferes with the paint’s ability to stick to the surface. By doing this, you ensure that the new layer of paint lasts longer, and covers up visible imperfections.
Before you start painting the door, use a heavy-duty cleaner you have at home and wait for it to dry. Afterwards, you can sand the door with light sandpaper to remove any bumps or chipped paint.
Next, you need to check and fill in some of the larger holes since the new layer of paint won’t cover them. Once you’re done with that, use a damp rag to wipe everything off before priming it. After priming the door, you will need to sand it out again to smooth out the surface before applying the paint.
Replace Your Door Hardware

After you’ve painted your doors, there is still another detail that can make the biggest difference – the door hardware. This small investment can really change the whole appearance of the door. Luckily, there are many kinds of door hardware Australia wide that offer both – style and durability. Some of the most popular types of finishes are matte black, chrome polish, antique brass, satin, nickel, rhinestone or zinc alloy.
If you want something that’s low-maintenance, you can opt for satin-finish door handles. They offer a subtle shine and will hold well against smudges and those annoying fingerprint marks.
Apart from the finish, you can choose from a range of different door handle designs, such as a lever handle on rose or a backplate, modern mortice doorknobs and rim knobs. If you want to enhance the contemporary design in your room, you can get a matte black finish with a lever handle on rose. These luxurious handles will instantly upgrade the look of your room.
You can just as easily achieve the same level of sophistication by purchasing black mortice doorknobs. These will no doubt add a rustic edge to your interior decor. If you’re not exactly a fan of the classic round design, you can switch up the look with some oval or square-shaped knobs.
Update the Door Trims

No matter how beautifully you painted your doors and matched them with luxurious door hardware, everything would be in vain if the trims remain worn out. The most popular trim style is the farmhouse, which will make your home feel cosy and comfortable. On the other, you can also opt for a colonial style trim to make a more extravagant statement. There are also more minimal styles to choose from when framing your beautiful-looking doors.
Aside from looks, you should also consider the trim materials. Medium-density fiberboard (MDF) is a popular choice that comes primed and ready to paint. Before buying your trims, measure what size you will need, and after that, make sure to remove old trims carefully. You might still need to do some minor wall repair afterwards, such as filling in some of the damaged areas and painting it.
Once you’ve done all of that, you can attach your new trim to your wall and seal it. Finally, you can paint the trim, and when it dries, you can enjoy the updated look.
To sum up, sometimes you don’t need to spend your money buying something new, especially if what you currently have is still functional. All you need is time, tools and your skilled hands to give it a brand new look.

